
Preventing termite damage during Florida home construction starts before the slab is poured. We recommend combining approved termite protection with dampness control, careful material placement, and accessible inspection areas.
Florida termite prevention requires multiple protection layers because a single treatment can’t address every species or construction detail. For Southwest Florida buyers, these decisions belong in the construction plan and project records, before finished surfaces conceal the work.
Start with the termite risks, then coordinate protection through each construction stage.
Key Takeaways
- Include an approved pre-construction termite-protection method in the building scope.
- Keep foundations visible, manage dampness, and separate wood and landscaping from the home.
- Preserve treatment records, photograph concealed work, and maintain professional inspections after move-in.
Understand Florida’s Termite Risks
Florida’s humidity, warm weather, and heavy termite pressure make prevention an ongoing responsibility. Different termites also require different protection strategies.
Native subterranean termites are common in Florida. They generally reach buildings through soil connections and construct protective mud tubes. Formosan termites are another species of subterranean termites, and their large colonies can occupy extensive underground territories.
The University of Florida’s Formosan termite guidance describes their biology and seasonal activity. A termite colony’s size and territory vary, so fixed statewide colony averages aren’t a reliable basis for a construction plan.
Drywood termites can establish colonies directly inside wood without soil contact. Dampwood termites favor wood with high moisture levels.
We recommend addressing soil access, exposed wood, and dampness together. Concrete-block construction still needs protection because roof framing, cabinetry, trim, and other components can contain wood.
1. Plan Termite Protection Before the Slab
Choose an Approved Protection System
Florida’s residential building code requires termite protection for new construction. Approved options include registered soil treatments, baiting systems, wood-applied pesticides, and other approved methods labeled for preventive use in new construction.
Liquid soil treatments create a treated zone beneath and around the building. Termite bait stations rely on termite feeding and require ongoing monitoring and maintenance. Wood treatments protect treated components according to the product label.
We recommend a written scope that identifies the selected termite treatment system, installation stages, responsible pest control company, and ongoing service obligations. List installation and renewal costs separately, since prices vary by slab or footing design and protection method.
Where the design and approved system call for a physical termite barrier, barriers at penetrations or other vulnerable transitions can supplement the primary protection method.
Protect the Treatment During Construction
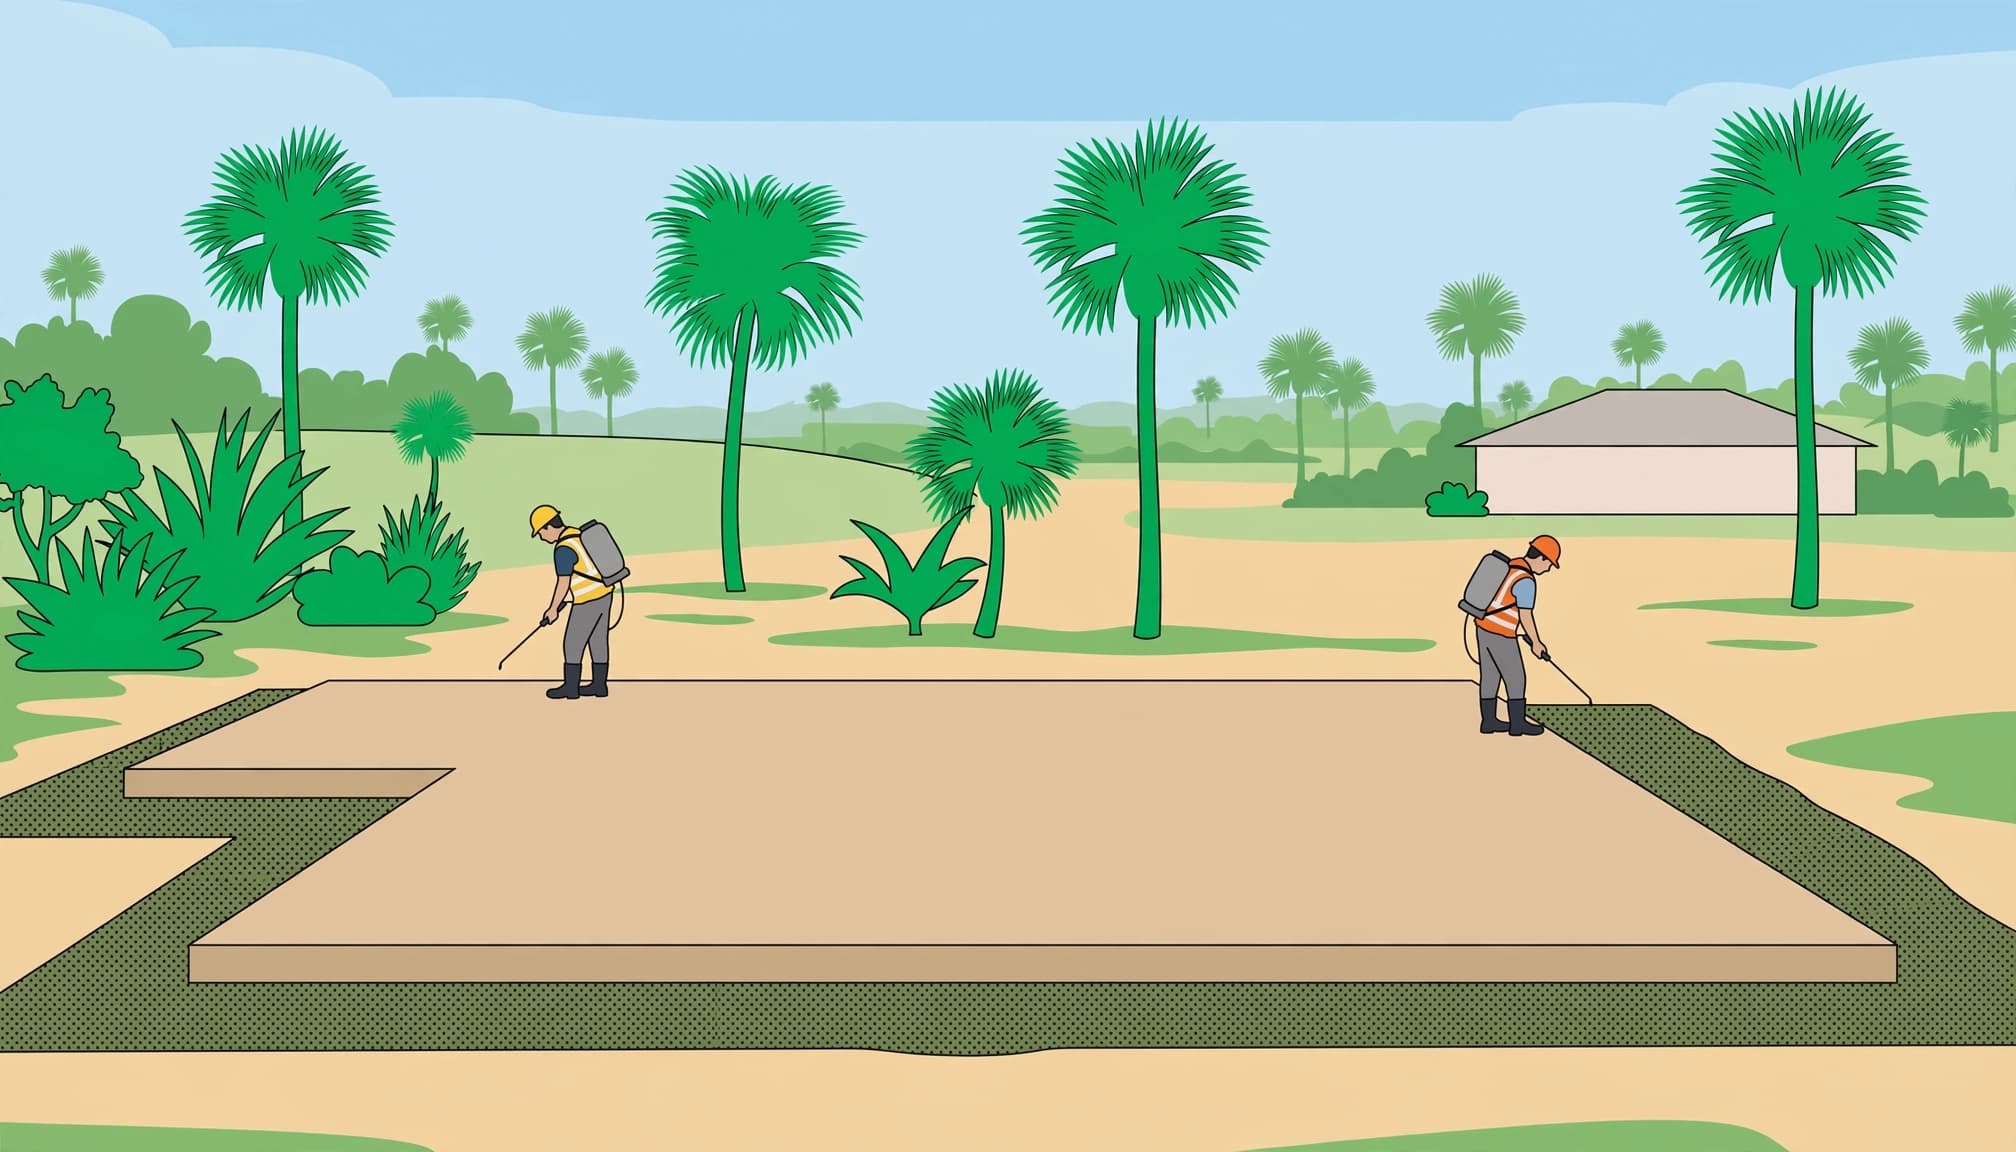
Soil treatment must fit the slab-pour sequence. Excavation, backfilling, and compaction come first. Later plumbing work, trenching, or landscaping can disturb treated soil and require retreatment.
For soil-treatment systems, Florida’s code provisions include protecting treated soil with a minimum 6-mil vapor retarder. Rain before that protection is installed can trigger retreatment requirements.
Our guidance on residential site preparation addresses the grading and foundation handoffs that belong in this schedule.
Homeowners can maintain records and keep work areas clear. A licensed pest-control company should handle construction-stage pesticide treatment, use the termiticide according to its product label, and provide required certification.
2. Build Moisture Control Into the Home
Direct Water Away From the Foundation
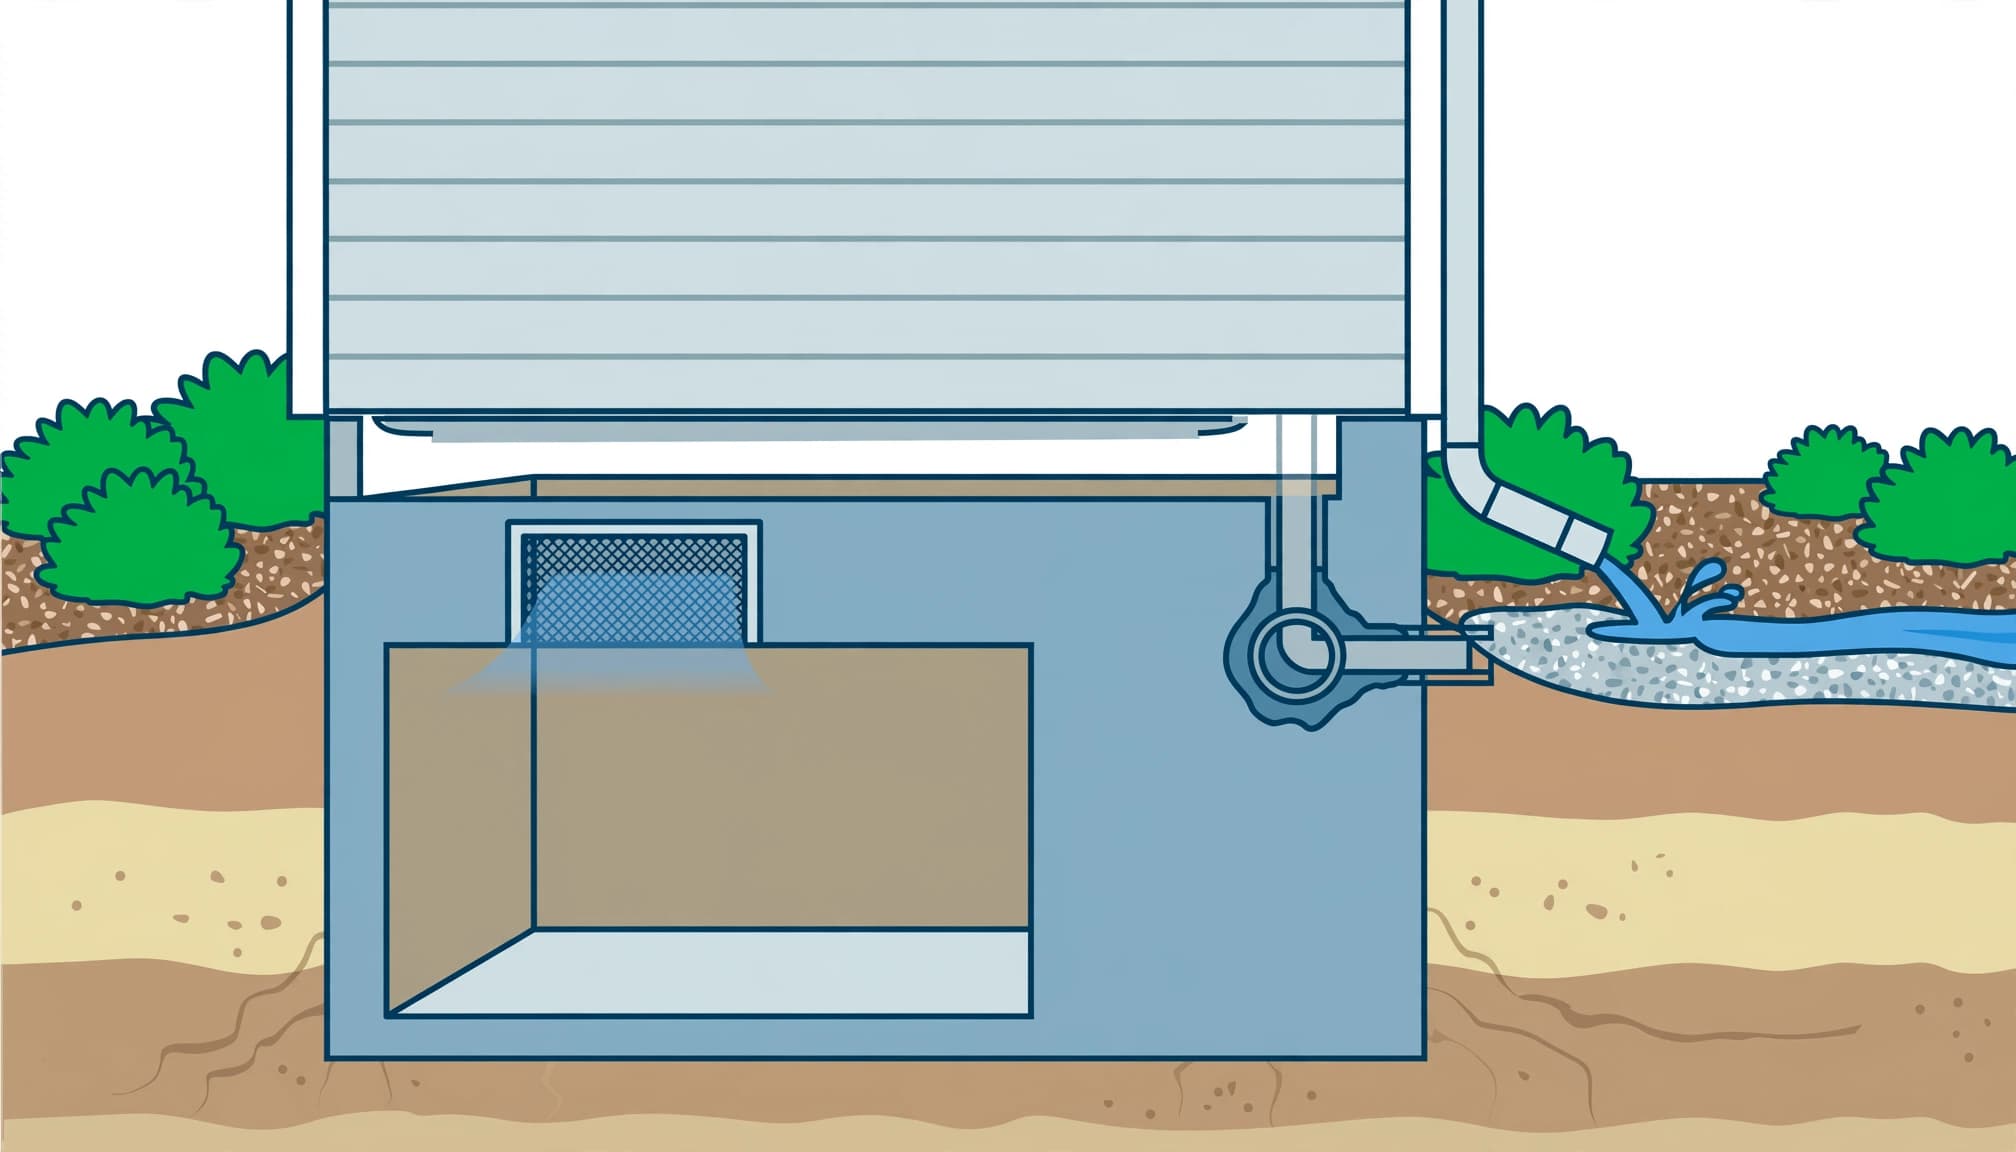
Finished grading should follow the approved drainage design and avoid persistent pooling beside the home. Gutters, downspouts, and discharge points need to work as one system.
Keep irrigation spray off exterior walls. Route AC condensate discharge away from the home’s base rather than allowing a constant drip beside structural components.
Southwest Florida sites also need appropriate groundwater planning. Our overview of Florida’s high water table explains why footing and drainage decisions must reflect the property.
Homeowners can maintain gutters and observe ponding. Drainage design, plumbing corrections, and mechanical discharge changes belong with qualified professionals.
Keep Framing and Concealed Areas Dry
Fix plumbing leaks, roof leaks, and failed flashing before affected walls or ceilings close. Wet framing shouldn’t be concealed simply because the construction schedule is moving forward, especially when high humidity slows drying.
Inspect roof-to-wall transitions, window openings, and plumbing penetrations for water entry. Crawlspaces and attics need the ventilation or conditioned-space details specified for their assemblies.
Dampness damage doesn’t prove termites are present. Staining, musty odors, and soft wood indicate a problem; mud tubes, termite pellets, or insect activity require pest evaluation as well.
3. Keep Wood and Landscaping Clear
We recommend setting these practical maintenance clearances before landscaping is installed.
| Feature | Recommended Clearance or Placement |
|---|---|
| Firewood, woodpiles, scrap wood, and stored paper debris | At least 20 feet from the home, elevated off the ground |
| Organic mulch and wood chips | A 2- to 3-foot setback from the home’s perimeter |
| Wood siding, trim, and decorative wood | At least a 6-inch visible gap above soil or mulch |
| Branches, shrubs, and other plants | At least 2 feet from exterior walls and vents |
The 2- to 3-foot perimeter setback is a conservative maintenance zone, not a substitute for engineered grading. Don’t excavate supporting soil to create it. Keep raised soil beds out of this area and preserve the approved drainage profile.
Remove buried form boards, stakes, cardboard, and wood scraps before backfilling. These materials provide concealed food sources beside the home.
Use preservative-treated lumber where required by the plans and code. Treated wood reduces vulnerability, but it doesn’t make the entire home termite-proof. Concrete and steel aren’t termite food, yet adjacent wood remains exposed.
The University of Florida’s termite prevention recommendations emphasize maintaining a visible 6-inch inspection space.
Homeowners can manage planting setbacks and storage. Builders should address buried debris, specified lumber, and permanent wood-to-ground contact before completion.
4. Seal Entry Points Without Blocking Inspection
Seal accessible gaps around utility penetrations, exterior joints, and openings with materials appropriate for the wall assembly. Clean the opening first, use suitable backing where needed, and maintain the intended drainage path.
Cracks in the home’s concrete base need evaluation before cosmetic sealing. A moving crack or structural concern requires a qualified construction professional; caulk alone doesn’t resolve the underlying condition.
Fit vents with suitable corrosion-resistant screening that doesn’t block required ventilation. Maintain screened openings, soffits, and exterior wood finishes to reduce access opportunities for drywood termite swarmers.
Sealing a foundation crack doesn’t prevent drywood termites from entering exposed wood elsewhere in the home.
Foam insulation, stucco, soil, and decorative finishes shouldn’t conceal required inspection areas. Keep weep openings and drainage details unobstructed.
Homeowners can maintain accessible sealants and screens after turnover. Construction-stage flashing, vent sizing, and structural crack repairs need professional coordination.
5. Document Protection Before Walls Close
Photograph Concealed Conditions
A pre-drywall review provides an opportunity to examine accessible framing, plumbing, and dampness conditions before finishes limit access.
We recommend photographing every wall and ceiling after rough-ins are complete. Start with a wide room view, then capture penetrations, pipes, framing, and treated areas. Organize photographs by room and wall direction.
Record corrections before the affected area closes. These photographs support future maintenance, but they don’t replace inspections or a termite-treatment certificate. Preserve treatment records alongside the images.
Keep Termite Records Separate and Complete
The closeout package should include the termite-protection certificate, treatment description, service agreement, warranty terms, and maintenance responsibilities. Record any construction activity that disturbed treated areas and the corresponding corrective treatment.
A Florida final building inspection reviews the permitted construction scope. It doesn’t replace a buyer’s independent home inspection or a dedicated wood-destroying-organism inspection.
If you arrange a private new-construction inspection, use a Florida-licensed home inspector with relevant experience. Termite identification and treatment decisions require the appropriate licensed pest professional. Structural damage may also require an engineer’s evaluation.
6. Maintain Protection After Move-In
Florida termite prevention continues after construction. Arrange professional inspections at least annually, and maintain bait-system service at the intervals required by the agreement and product instructions.
A follow-up termite treatment isn’t automatically annual; it depends on the system, label, disturbed treatment zones, and inspection findings.
Watch for hollow-sounding wood, maze-like surface damage, discarded wings near windows or doors, and exterior mud tubes. Drywood termites may also leave small, hard fecal pellets.
The EPA’s termite identification and control guidance explains prevention and treatment options.
Termites may remain active even when no tube is visible. Photograph the location and arrange an inspection.
Fipronil products such as Taurus SC require label-compliant application. Protective gloves, eye protection, and any required respiratory protection depend on the label and application conditions. Construction pretreatment belongs with licensed professionals, not an improvised homeowner spray program.
Frequently Asked Questions
How Can You Tell Whether Termites Are in Mulch?
Termites may appear as pale, soft-bodied insects beneath damp mulch or wood. Ants have a more distinct narrow waist.
Termites in landscaping don’t automatically mean the house is infested. Keep the home’s concrete base visible and arrange an inspection if activity approaches the structure, mud tubes appear, or damaged wood is found. Mulch can retain moisture and conceal access, even when it isn’t the colony’s main food source.
What Termite Prevention Can Homeowners Handle?
You can maintain drainage, repair accessible screens, remove debris, preserve clearances, and watch for warning signs. Moving firewood away reduces nearby food sources and hidden activity beside the home.
Boric acid and orange oil are popular DIY termite treatment options, but their effectiveness depends on access and application. These DIY methods don’t replace an approved new-construction system or professional termite control. Pesticide exposure can also pose risks to children and pets.
Can Heat Treat a Small Termite Infestation?
Professional heat treatment can control drywood termites when the required temperature reaches the infested wood for the required duration.
A 120°F surface reading doesn’t establish that termites inside the wood are dead. Household heaters and heat guns aren’t reliable DIY termite treatment methods. Heat can damage plastics, wiring, finishes, and belongings. Localized treatment can also miss other colonies.
Build Protection Into the Construction Plan
Dependable termite protection starts with coordinated construction details and continues through documented maintenance. We recommend prioritizing visible foundations, dry assemblies, and complete treatment records before focusing on finished surfaces.
For your Southwest Florida home project, Get In Touch with our team. Clear scope and careful coordination help keep termite prevention connected to the structural base, framing, and final handover.