
A pre-drywall inspection checks the framing, plumbing, electrical wiring, and HVAC rough-ins before drywall conceals them. For Southwest Florida buyers, it’s also an opportunity to identify moisture concerns and review accessible structural connections before finishes limit access.
The exact scope depends on the home, available access, and inspector. A visual review can’t guarantee a defect-free home.
We recommend treating this stage as a construction milestone, with time for documented corrections. The right schedule starts with completed rough-ins and ends with approval to close the walls.
Key Takeaways
- Schedule after framing and rough-ins, before insulation or drywall hides the work.
- Allow two to four hours for a typical inspection; larger homes may require more time.
- Prioritize concealed systems, photograph every room, and resolve documented concerns before the affected walls close.
When to Schedule a Pre-Drywall Inspection and What It Costs
Schedule Around Completed Rough-Ins
The inspection happens after framing and HVAC, electrical, and plumbing rough-ins are complete, but before drywall installation. Arrange access early enough to allow corrections and another review when needed.
Dan Kelly of Contractor Source describes this as the last opportunity to see behind the walls before drywall blocks direct access. Later investigation can require opening finished surfaces.
A typical inspection takes two to four hours. It includes accessible exterior and interior areas, attic spaces, any crawlspace, and the attached garage.
Florida’s inspection administration guidance addresses required inspections before work becomes concealed. A buyer’s private inspection supplements that process.
Understand the Price Factors
Carolina Premier Inspections lists approximately $450 for a slab-foundation home under 2,500 square feet. That’s an out-of-state provider’s published example, not a Southwest Florida market rate.
Square footage, foundation type, detached garages, and additional structures affect pricing. A straightforward slab home and an elevated home with more accessible structural areas involve different inspection scopes.
We recommend establishing inspection access during the residential pre-construction meeting. The schedule should identify who coordinates access, when reports are due, and how corrections fit before wall closure.
Foundation, Framing, and Exterior Protection
Review the Visible Structure
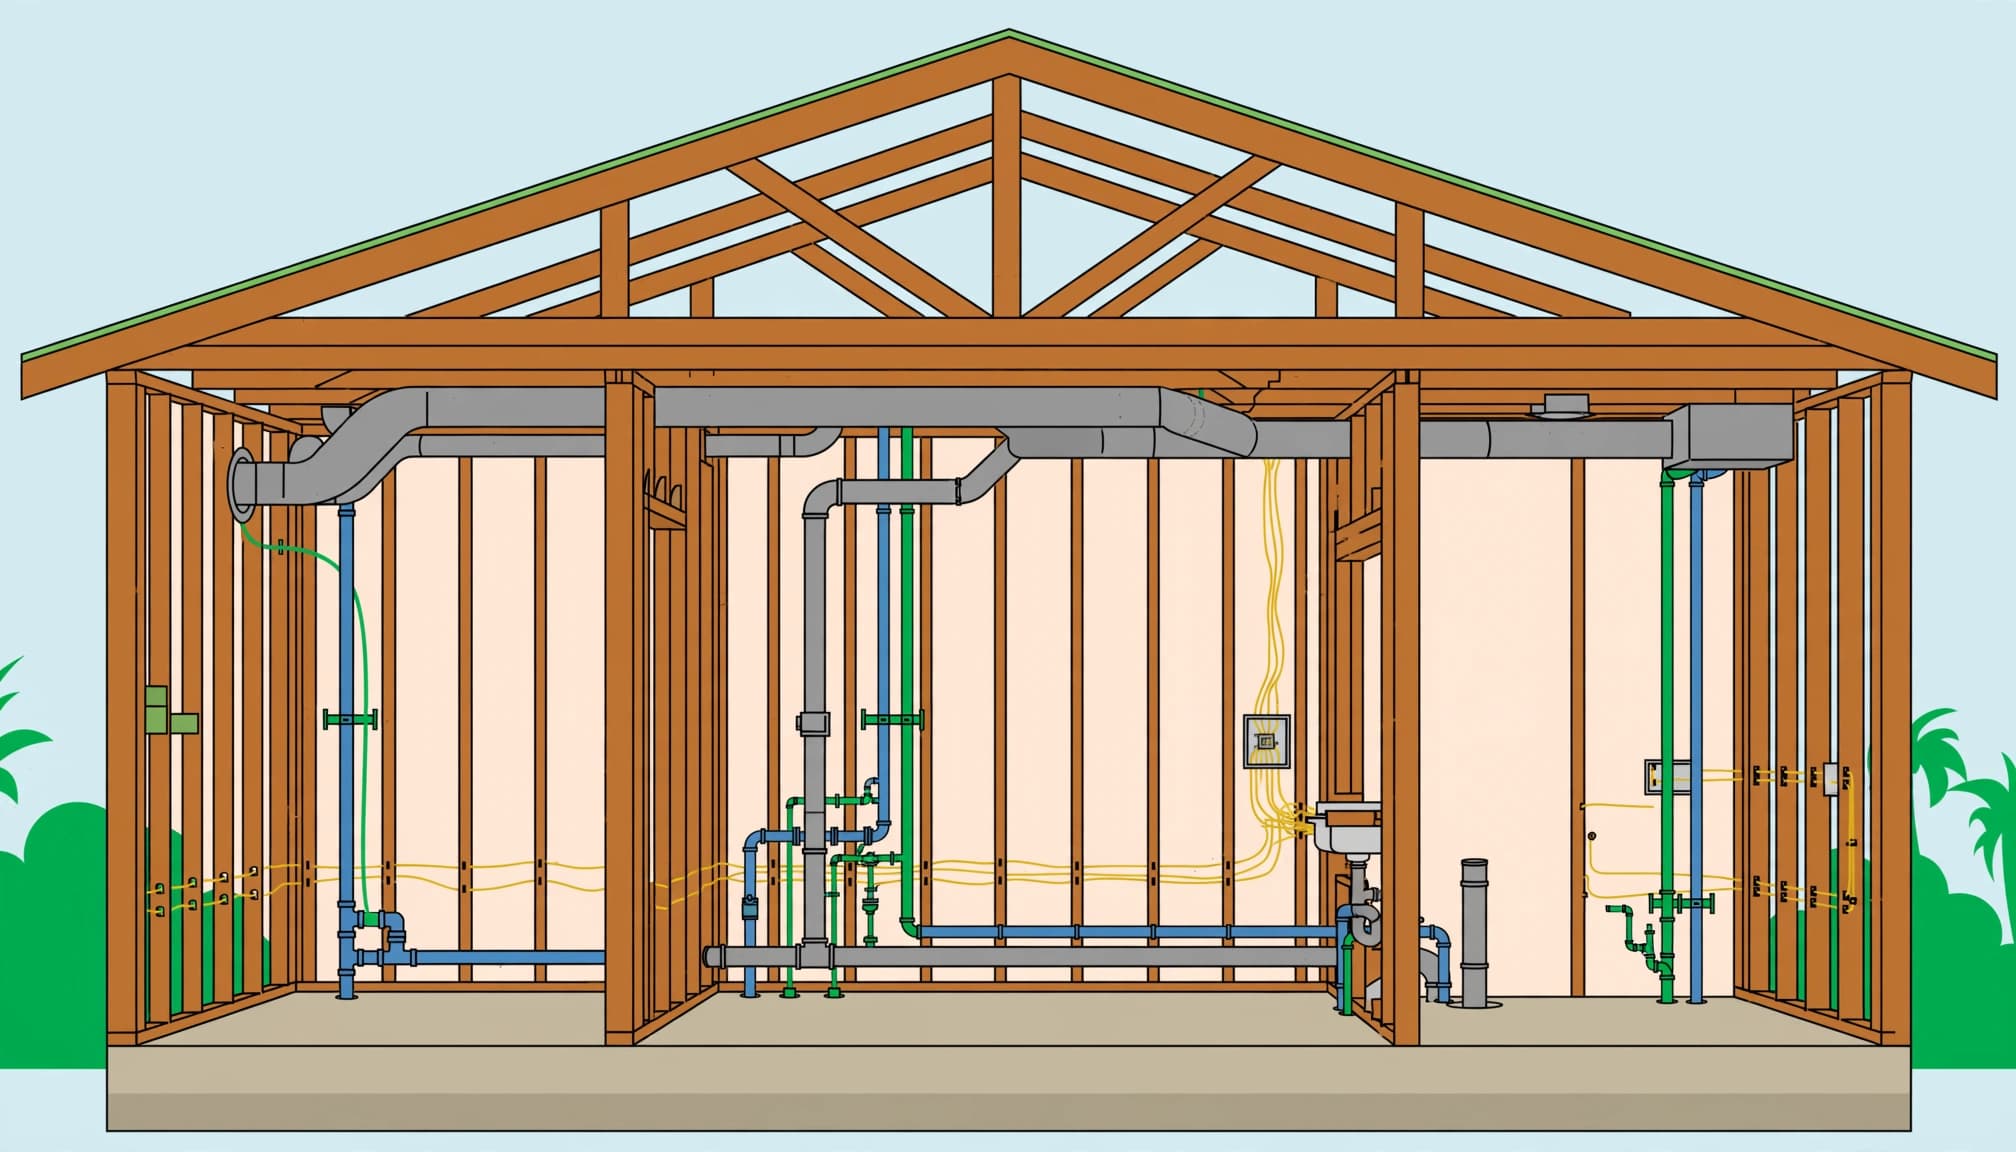
Inspectors look for misaligned walls, damaged framing, missing connectors, inadequate support, and questionable cuts through studs or other members. They also review accessible foundation conditions and connections for signs that could affect structural integrity.
Plumbing and electrical installations deserve attention where trades have drilled or notched framing. An opening made for a pipe shouldn’t compromise a load-bearing member.
In Southwest Florida, accessible roof-to-wall and wall-to-foundation connections deserve careful review against the approved design. Concealed reinforcement inside a completed slab can’t be confirmed visually at this stage.
Our structural wood framing services include load-bearing walls and support structures. Those connections need the same attention as room dimensions and openings.
Look for Water Entry and Missing Backing
Inspectors review accessible roofing, windows, and doors for visible installation concerns, missing flashing, and evidence of water entry. Wet materials shouldn’t be covered before the cause and drying requirements are addressed.
Room sizes, ceiling heights, and openings should match the current plans. Blocking for grab bars, televisions, cabinets, and heavy fixtures should also be identified before drywall.
These details connect appearance with functionality. A correctly positioned wall still needs suitable support for what will attach to it.
Plumbing and Electrical Rough-In Checks
Plumbing: Support, Drainage, and Protection
Plumbing checks include pipe routing, secure supports, visible damage, and potential leakage. Loose or poorly secured pipes can move within walls and deserve correction before enclosure.
Inspectors also look for blocked vent paths, questionable drain slopes, and framing damage caused during installation. Shower-drain elevation needs to suit the planned shower assembly and finished floor.
Protective nail plates are important where pipes pass close to framing faces. They help prevent later drywall screws or mounting fasteners from puncturing concealed lines.
Water-temperature concerns and fixture operation usually require later testing. At rough-in, many fixtures and water-heating components aren’t operational. Any available pressure-test documentation helps explain what has already been tested.
Electrical: Locations, Support, and Grounding
Inspectors review electrical-box placement, cable routing, protection, and support. Missing protective plates where wiring passes near framing faces are a common concern.
The outlets and switches should match the plans and approved selections. Kitchen islands, appliances, bathroom mirrors, and cabinetry can all affect placement.
Ceiling-fan locations need suitable support. Data cables, security wiring, shade controls, and other smart-home pathways also belong in this review.
The inspector reviews accessible grounding connections, including the grounding-electrode connection where installed. Non-working outlets are usually a later-stage issue because rough-in wiring may not be energized or have receptacles installed.
An unfinished electrical system can be inspected visually, but it can’t receive the same operational testing as a completed home.
HVAC, Insulation, and Moisture Control
Inspect Duct Routing and Equipment Clearances
HVAC rough-in checks focus on ductwork support, sealed connections, insulation, and routing. Twisted, crushed, or over-tightened flexible ducts can restrict airflow.
Supply boots and return connections need suitable sealing. Their positions should coordinate with walls, cabinets, and ceiling features so finishes don’t obstruct airflow.
Equipment placement matters too. Units crowded together can limit service access and conflict with required clearances. Where gas equipment is included, qualified professionals address gas-pipe testing and furnace-vent routing, slope, and obstructions.
We recommend reviewing room-by-room airflow planning alongside the duct layout. Whole-home totals don’t explain how air reaches individual bedrooms or how return-air paths function.
Separate Rough-In Review From Performance Testing
Consistent room temperatures can’t be demonstrated reliably in an unfinished home. Operating temperatures, controls, and comfort require later checks when the equipment and building enclosure are complete.
Insulation is reviewed where installed and accessible. Missing sections, compression, gaps, and conflicts around pipes or ducts can affect the finished assembly.
If insulation hasn’t started, document the specified locations and installation requirements. A separate review may be needed before drywall conceals it.
A completed-envelope air-leakage test also belongs later. Open walls and unfinished openings don’t provide a meaningful test of the finished home’s air leakage.
Independent Inspector, Builder Walkthrough, and Required Inspections
These reviews have different responsibilities. A third-party inspector works for you; a builder’s inspector works for the builder. Municipal building-department inspections are separate jurisdictional checks for code compliance.
A builder-led pre-drywall walkthrough usually addresses layout, selections, construction progress, and buyer questions. It doesn’t automatically include the detailed system review provided through a separate inspection agreement.
We recommend an independent review when you want a written assessment focused on your interests before concealed work becomes difficult to access. It supplements required municipal inspections and doesn’t guarantee a defect-free home.
Choose a Florida-licensed inspector for a private home inspection on new construction, with documented experience in new-construction inspections. Florida DBPR’s home-inspector licensing information explains the profession’s state regulation.
The agreement should identify accessible areas, reporting standards, limitations, and whether a return visit is included. Structural concerns outside the inspection’s scope may require an engineer’s evaluation.
What to Bring and How to Document the Walkthrough
Bring a printed floor plan, approved selections and change orders, your phone, and a room-by-room checklist. Use the current documents so an approved revision isn’t mistaken for an error.
Take “photos” of every wall and ceiling before drywall installation. Start with a wide view identifying the room, then capture closer views of pipes, wires, ducts, and backing.
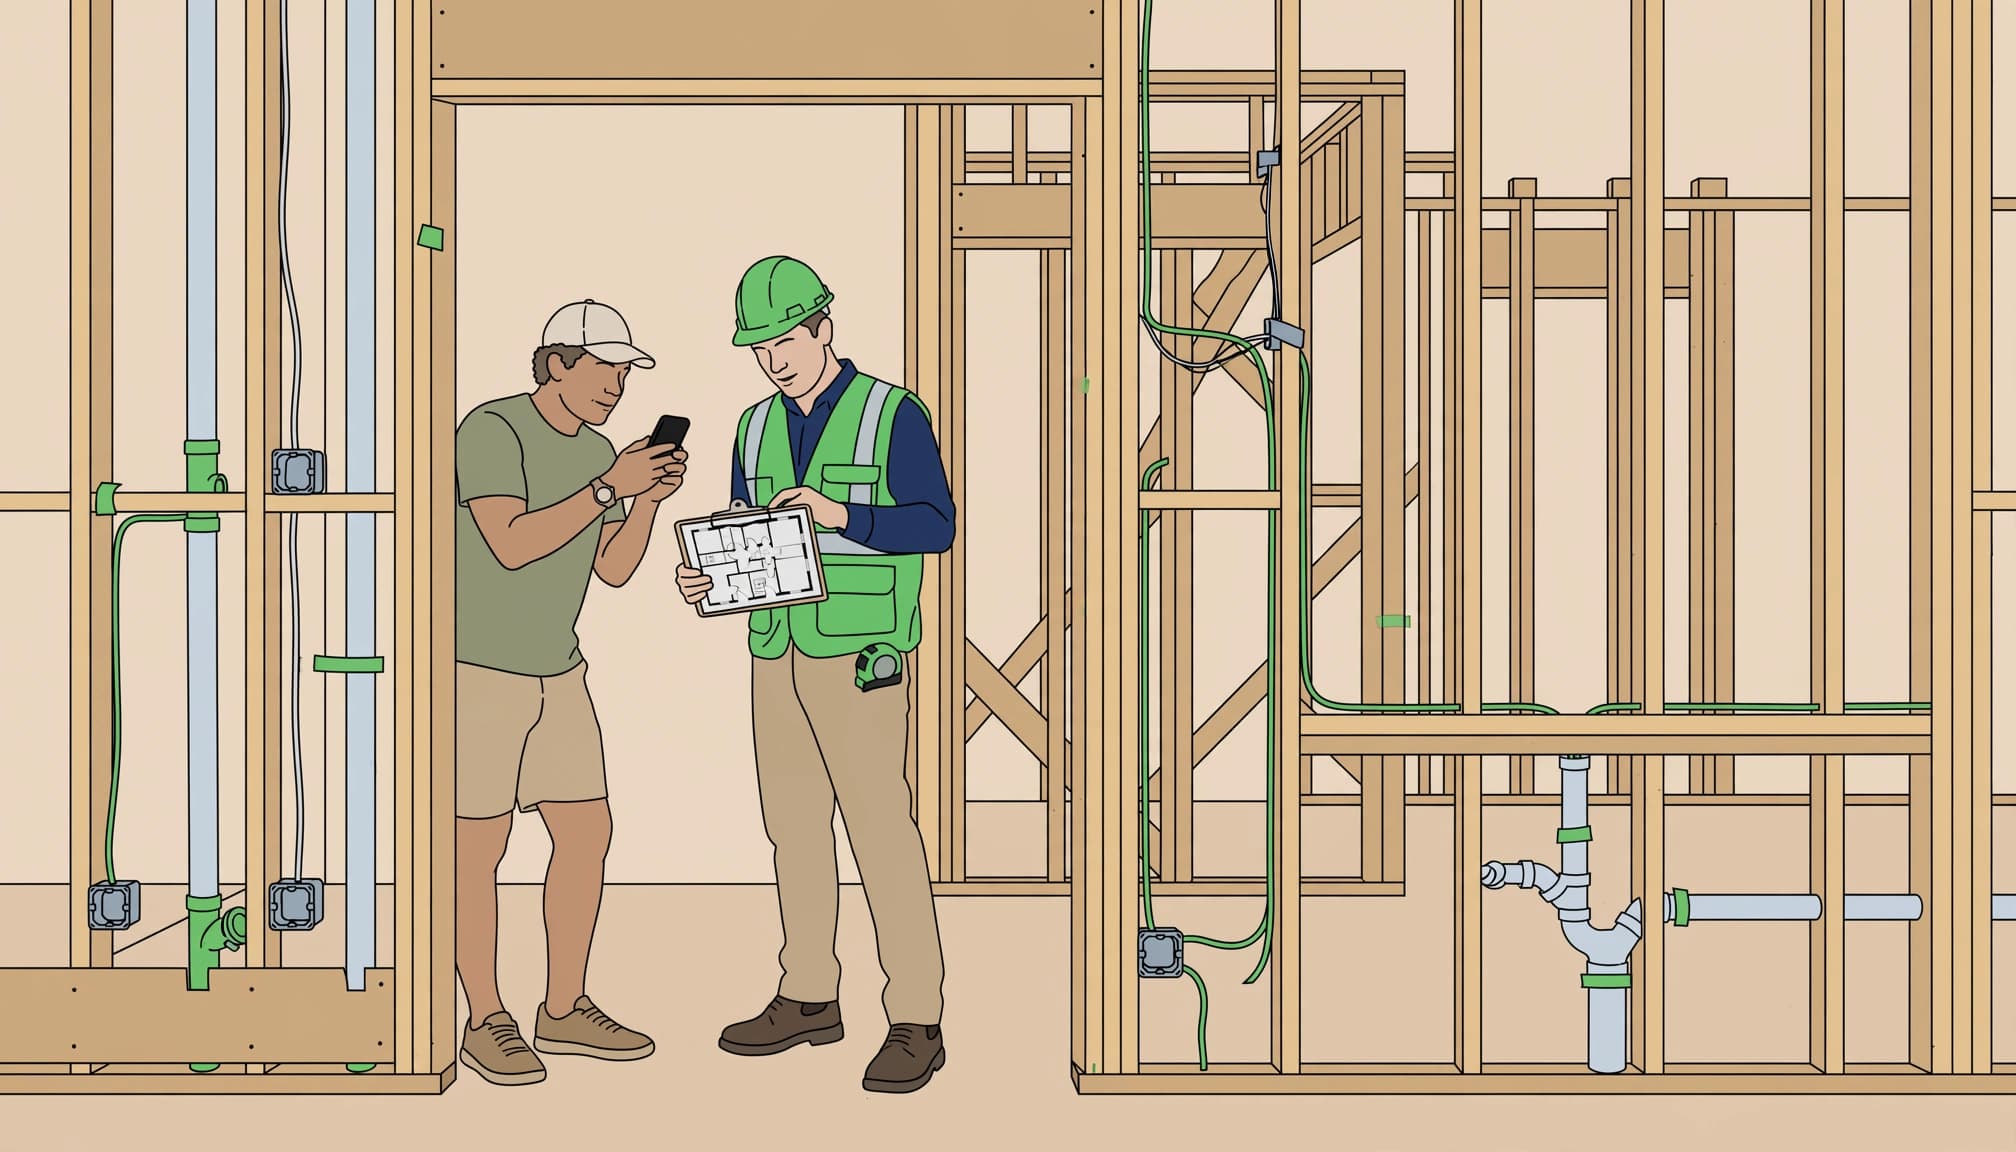
Keep images organized by room and wall direction. Include reference measurements where useful. These records support future maintenance and mounting decisions, but they don’t replace locating utilities before drilling.
Compare kitchen-island services, shower controls, appliance connections, recessed lights, and network locations with your selections. One change can affect several trades.
Late design revisions may require a written change order, additional cost, or schedule adjustment. Some changes may no longer be practical once the structure and systems are installed.
How to Handle Findings Before Walls Close
Turn the Report Into a Correction Record
When scheduling allows, complete the independent inspection before the builder’s pre-drywall meeting. That gives the project manager an opportunity to discuss findings and show completed corrections during the walkthrough.
Send the inspection report promptly. Each concern should identify the location, observed condition, and recommended next step.
Separate defects from preferences and new design requests. A damaged pipe needs a different response than a request to relocate an outlet.
For disputed findings, request a written response explaining the proposed resolution. Structural questions may need the design professional; unresolved code concerns belong with the building official. Use your contract’s written dispute process when necessary.
Carry Unresolved Items Into Closeout
Photographs and reinspection records should document corrections before the affected areas are concealed. Keep the report, responses, and completion evidence together.
The final walkthrough then focuses on completed systems, finish quality, and unresolved items. Minor imperfections invisible under normal lighting may be acceptable. Slight framing variations require evaluation against applicable tolerances.
Visible drywall seams after the prime coat, cracked joints, and screw pops should be recorded for correction. Paint and trim don’t establish that concealed concerns were resolved.
Frequently Asked Questions
Is It Too Late After Drywall Is Installed?
The opportunity for a complete visual pre-drywall inspection has passed. A later inspection can review accessible areas and completed systems, but it can’t directly examine concealed framing, wiring, or pipes.
Targeted openings may be needed when a documented concern warrants further investigation.
Does This Replace the Final Inspection?
No. The pre-drywall inspection focuses on accessible structure and rough-ins. The final inspection reviews the completed home, including operational systems and visible finishes.
Earlier reports remain important because the final visit should address whether documented corrections were completed.
Protect Quality Before the Walls Close
A well-timed inspection gives you a clear record of the work that finished walls will conceal. We recommend prioritizing documented corrections, clear communication, and coordination between the inspector and project manager.
For help planning your Southwest Florida home project, Get In Touch with our team. Clear decisions at rough-in support a dependable finished home.